
Nebulizing Diffuser Maintenance Guide
How to Clean a Nebulizing Diffuser: 7 Safe Steps
To clean a nebulizing diffuser, switch it off, disconnect power and empty the remaining oil as instructed. Clean only the permitted glass parts with the specified cleaner, complete any required rinsing and drying, then reassemble and restart according to the model’s manual.
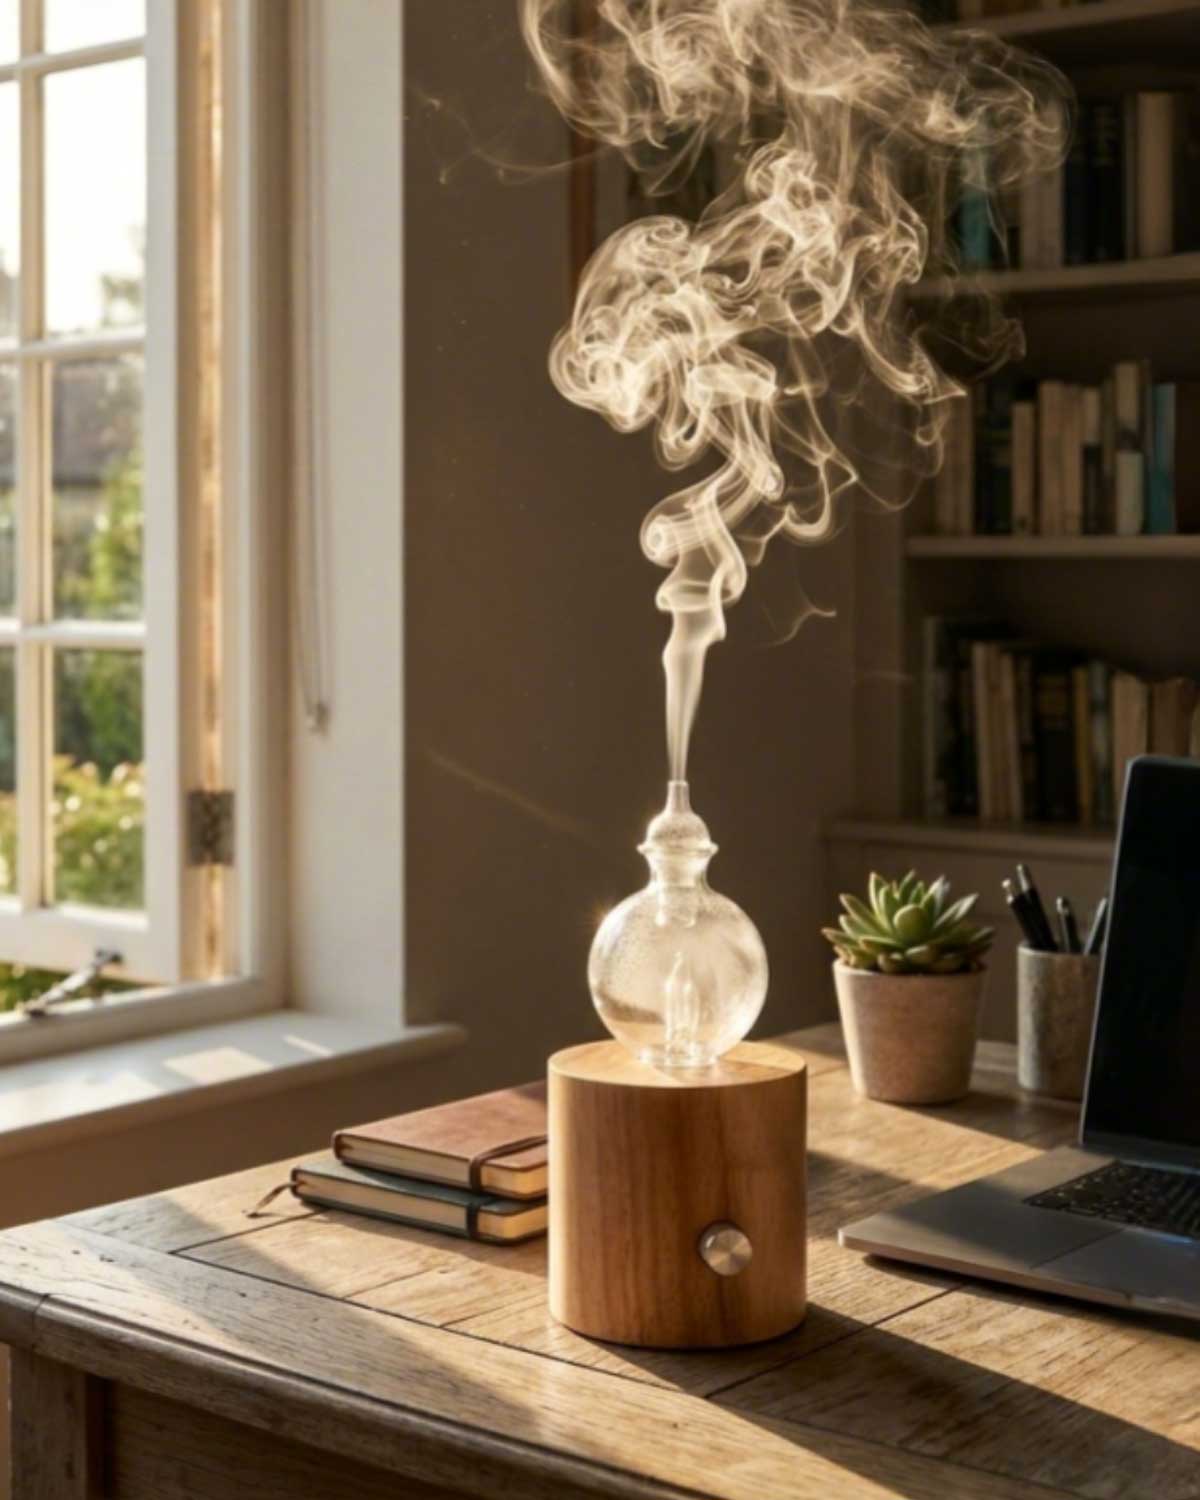
A glass reservoir does not make every cleaning method suitable. Confirm the permitted cleaner, access method and restart procedure. Keep the electrical base out of liquid and use the supplied instructions for the actual model.
Video-Based Cleaning Process
Cleaning Demonstration: Four Stages
These existing demonstration stills show handling, filling and draining the removable-glass model. Use them alongside its current cleaning instructions; confirm the cleaner and any rinsing or drying requirements before starting.

1. Handle the Removable Glass Carefully
Follow the model’s removal method and support the glass. Empty residual oil before cleaning; avoid pressure on narrow internal parts.

2. Add the Specified Cleaning Liquid
Use the cleaner and quantity specified for this model. Keep liquid away from the electrical base, controls and connections.

3. Drain the Cleaning Liquid
Follow the approved glass-cleaning procedure and drain the liquid. Complete any required rinse rather than leaving cleaner in the pathway.

4. Complete Drying Before Reassembly
Set the permitted glass parts aside for the specified drying process. Reassemble only when they are ready for the model’s restart procedure.
First Identify the Diffuser Type
Identify the Diffuser Before Choosing a Cleaning Method
A glass nebulizer, an enclosed scent machine and an ultrasonic water-tank diffuser have different maintenance routes. Confirm the mechanism as well as the visible glass shape.
| Diffuser Type | Main Cleaning Area | Care Route | Important Caution |
|---|---|---|---|
| Removable-glass nebulizer | Glass reservoir and accessible narrow oil pathway | Use the model’s approved glass-cleaning procedure. | Protect the base and avoid forcing delicate glass parts. |
| Covered glass design | Glass assembly, cover and accessible surfaces | Confirm which pieces are removable and washable. | Keep liquid away from controls and ventilation openings. |
| Enclosed direct-oil system | Bottle, tube, nozzle or internal oil path | Follow the selected machine’s cleaner and service instructions. | Do not copy the glass-nebulizer procedure into an enclosed system. |
| Ultrasonic water-tank model | Reservoir and ultrasonic plate | Use the separate water-tank cleaning method. | See the essential oil diffuser cleaning guide. |

What You Are Actually Cleaning
Oil Residue Collects in the Glass and the Narrow Pathway
Focus on residual oil and the areas the manual permits you to clean. A clear-looking reservoir does not establish that every narrow passage is clear, and a glass drawing does not define service access.
- Residual oil: empty it before the approved cleaning process.
- Glass parts: support them during handling and check for damage.
- Narrow pathway: use only the permitted method and tools.
- Base and controls: keep them protected from liquid.
- Drying: complete the specified process before restart.
Seven-Step Framework
How to Clean a Nebulizing Diffuser Safely
Use these seven steps as a checklist. The selected model’s manual determines the exact cleaner, handling, rinsing, drying and restart details.
Switch Off and Disconnect Power
Stop operation before opening the diffuser or handling the glass. Follow the shutdown procedure for the supplied model.
Remove Only the Permitted Glass Parts
Use the stated removal method and support the glass. Do not twist, force or dismantle parts unless the instructions permit it.
Empty the Remaining Oil
Drain residual oil as directed before adding cleaner. Follow the product’s handling and disposal information.
Use the Specified Cleaner
Apply only the approved liquid, quantity and method to permitted parts. Do not choose detergent or alcohol by appearance or by another model’s instructions.
Drain and Rinse Where Required
Empty the cleaning liquid and complete any specified rinse. Do not leave cleaner trapped in the pathway.
Complete the Drying Process
Allow the permitted parts to dry as instructed. Check the glass and fitting surfaces before reassembly.
Reassemble and Check Operation
Fit the parts correctly and use the approved oil, fill level and restart settings. Stop if leakage, abnormal noise or irregular output persists.
Cleaner Choice
Neutral Detergent or Alcohol: What Should You Confirm?
The existing AromaLeap demonstration guidance refers to neutral detergent or alcohol for the shown glass model. Confirm the exact product and procedure with the supplied instructions; the photographs do not establish a cleaner specification.
If Detergent Is Specified
Ask which detergent is permitted, which parts it may contact and whether rinsing is required. “Neutral detergent” is not permission to use any household cleaning product.
If Alcohol Is Specified
Confirm the alcohol type or product, concentration, amount and handling instructions. Keep it away from ignition sources and protect the base from liquid.
Confirm the Complete Procedure
Check the permitted tools, draining, rinsing, drying and restart steps together. Do not force wires or abrasive tools into a narrow glass pathway.
When to Clean
When Should You Clean a Nebulizing Diffuser?
Follow the supplied interval. Review the approved care procedure when fragrance carryover, visible residue or a change in output needs attention.
Between Strong Fragrances
Use the approved scent-change routine when the previous fragrance would affect the next oil.
When Mist Weakens
Check settings, assembly and the oil before assuming residue is the cause. Persistent faults may need service.
When Oil Build-Up Is Visible
Clean accessible deposits using the specified method. Inspect the glass for damage rather than scraping it.
Before Putting the Unit Away
Follow the model’s instructions for removing oil, cleaning and storage preparation.
Troubleshooting
What If the Nebulizing Diffuser Still Has Weak or No Mist?
If performance remains abnormal after the approved care process, check installation, power and oil suitability. Cleaning cannot resolve every pump, electrical or glass-component fault.
| Symptom | Possible Cause | Check | Next Step |
|---|---|---|---|
| No output after cleaning | Incomplete drying, incorrect fitting, obstruction or power issue | Check the manual’s drying and reassembly steps and the power connection | Stop repeated cleaning if the fault remains; follow the supplier’s service process. |
| Weak or irregular output | Residue, oil incompatibility, settings or a component fault | Check the oil reference, fill instructions, assembly and settings | Use only the approved care procedure; ask for service if output remains abnormal. |
| Old fragrance remains | Residual oil in an oil-contact part | Review all permitted cleaning points and any rinse requirement | Ask whether deeper service or an approved replacement glass part is needed. |
| Leakage after reassembly | Incorrect fitting, damage or another fault | Stop operation and inspect only user-accessible fitting points | Do not keep running a leaking unit. Use the supplier’s care or replacement process. |
For the operating principle, read how a nebulizing diffuser works. Use the model’s service instructions for a persistent fault.
For Brands & Procurement Teams
Include Maintenance in Sample Approval
During sample evaluation, ask the intended operating team to follow the supplied care instructions. Record the oil, cleaner, manual version, care time and observations before agreeing the order specification.

- Can the user handle the removable glass without forcing it?
- Are cleaner, rinsing and drying instructions specific?
- Has the actual oil been evaluated in the selected diffuser?
- Are replacement-glass options and service limits clear?
- Are the manual, label and support instructions consistent?
- Are the approved model, oil and care references retained for repeat orders?
Related Buying and Care Guides
Choose the Guide for Your Next Question
Review equipment, oil compatibility or care guidance according to the product you are evaluating.
FAQ
Nebulizing Diffuser Cleaning FAQ
How do you clean a nebulizing diffuser?
Switch off, disconnect power and empty the remaining oil as instructed. Clean only the permitted parts with the specified liquid, complete any required rinse and drying, then follow the model’s reassembly and restart procedure.
Can this nebulizing diffuser be cleaned with alcohol?
Use alcohol only when the supplied instructions permit it. Confirm the specified type or product, concentration, amount and contact area. A cleaning photo does not establish those details.
Can I use a neutral detergent instead of alcohol?
Only if the model instructions permit that detergent and method. Confirm the exact product and any required rinse; do not substitute a household cleaner solely because it is described as mild.
Why must I pour out the remaining oil first?
Emptying residual oil is part of preparing the glass for the approved cleaning process. It also avoids treating the old oil and the cleaner as a new operating mixture.
Why should the parts dry before reassembly?
Follow the model’s drying requirements so cleaner or rinse liquid is not carried into the restart procedure. Reassemble only when the permitted parts are ready.
Does this method apply to every nebulizing diffuser?
No. Removable-glass nebulizers and enclosed scent systems can have different parts, cleaners and access methods. Use the current instructions for the actual model.
What should wholesale buyers check about maintenance?
Check the cleaner specification, glass handling, oil compatibility, replacement parts, user instructions and service limits. Record the care process during sample evaluation.
From Maintenance Research to Product Sourcing
Need Care Information for a Nebulizer Project?
Share the diffuser model, intended oil and target application with AromaLeap. The team can review relevant sample, care and replacement-part information for your wholesale project.