
Step 1 — Remove the Glass Part and Empty Residual Oil
Lift the glass reservoir or glass cover off the base and pour out any remaining oil before starting the cleaning cycle.

Nebulizing Diffuser Maintenance Guide
This updated version now reflects AromaLeap's own cleaning video for one of your nebulizing diffusers. The core process is straightforward: pour out any remaining oil, clean with a neutral detergent or alcohol, empty the liquid fully, dry the parts, then reassemble and test.
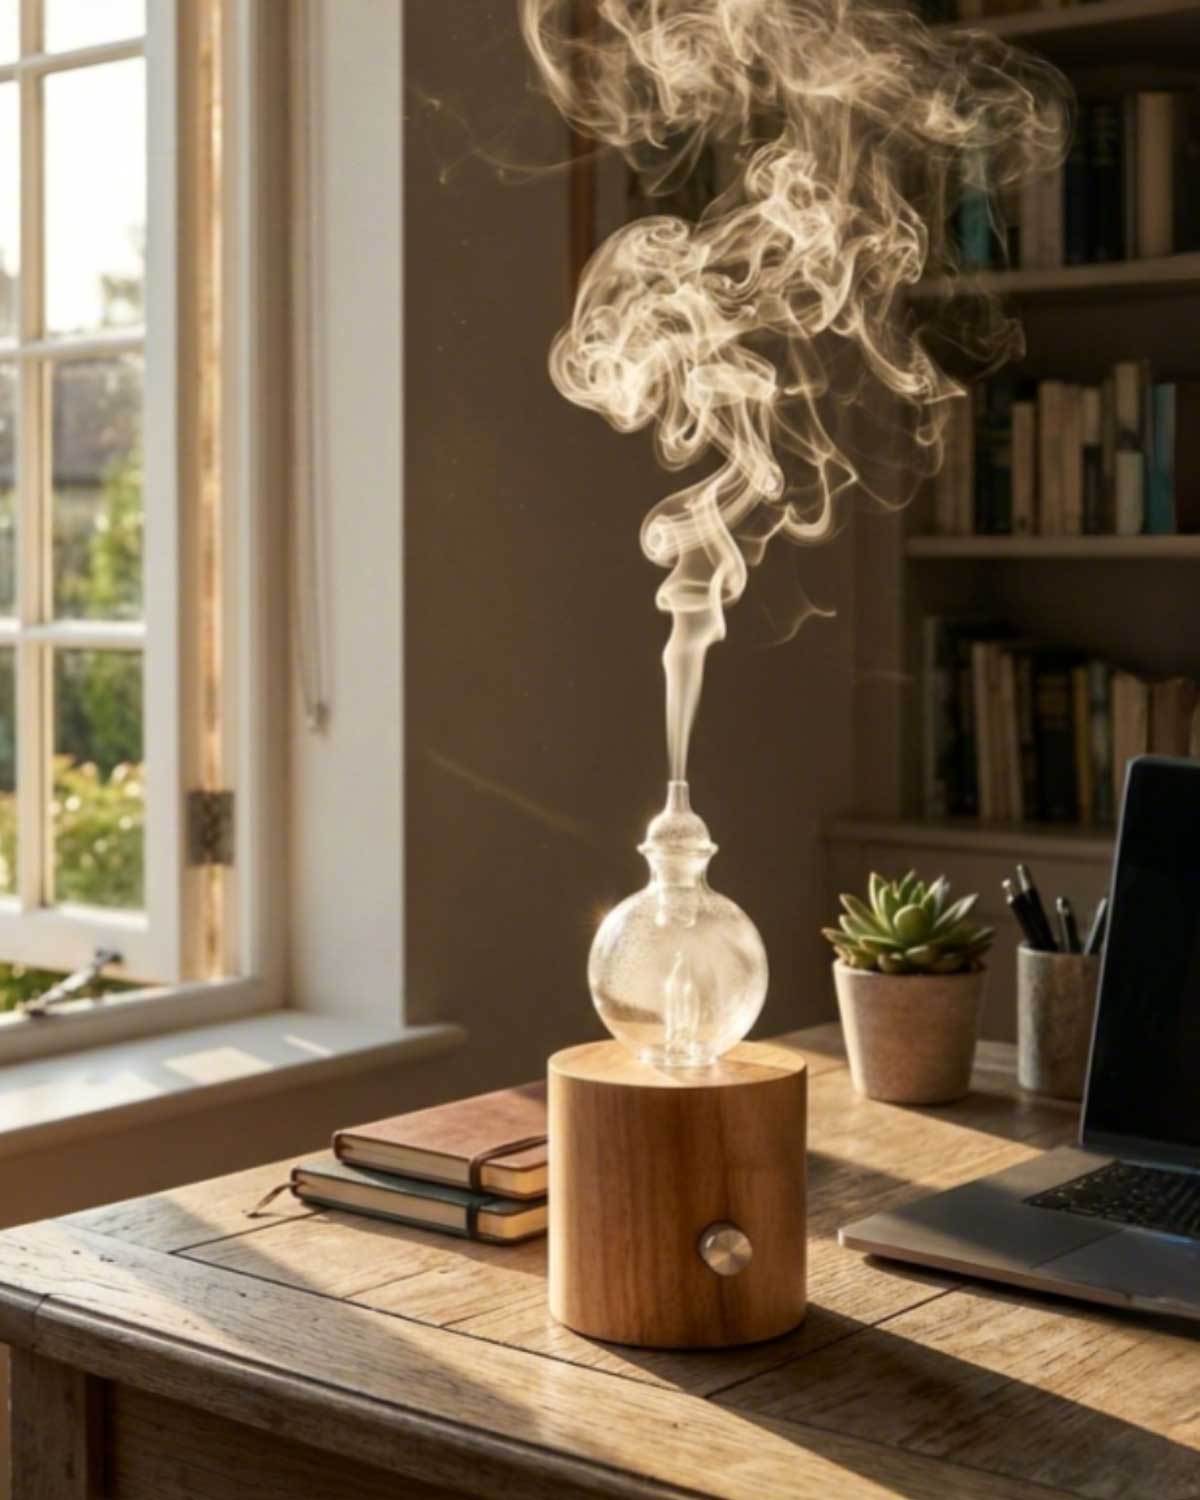
To clean this AromaLeap nebulizing diffuser model, first pour out any remaining oil, then clean the glass assembly with a neutral detergent or alcohol, empty the cleaning liquid fully, allow the parts to dry, and reassemble correctly before testing. For other nebulizing diffusers, the exact cleaner and disassembly method can still vary by design, so the product instructions should always be checked before using the same method on a different machine.
Video-Based Cleaning Process
To make this blog more practical, the section below uses still images captured from your actual cleaning video. This strengthens the article because buyers can now see the real maintenance process for one of AromaLeap's nebulizing diffuser models instead of reading only generic instructions.
Lift the glass reservoir or glass cover off the base and pour out any remaining oil before starting the cleaning cycle.

For this AromaLeap model, the demonstration shows cleaning with a neutral detergent or alcohol. Use only a small amount and keep the electrical base dry.

After the cleaning liquid has contacted the glass pathway, empty it completely to help remove residual oil and previous fragrance carryover.

Let the cleaned parts dry fully before placing them back on the base. Then reassemble carefully and test the unit again at a low setting.
First Identify the Diffuser Type
A nebulizing diffuser normally atomizes compatible oil directly with moving air. There is usually no water tank to descale. The main cleaning points are the glass reservoir or bottle, narrow liquid pathway, and the atomizing area rather than a large water basin.
| Diffuser Type | Main Cleaning Area | Typical Cleaning Approach | Important Caution |
|---|---|---|---|
| Classic removable-glass nebulizer | Glass reservoir and narrow tube area | Often simple For AromaLeap's demonstrated model, pour out residual oil and clean the glass parts with neutral detergent or alcohol. |
Do not immerse the electrical base or allow liquid to collect around the controls. |
| Covered glass nebulizer | Glass atomizer, glass cover and accessible surfaces | Model-specific Clean the removable glass section and wipe the housing separately. |
Do not trap liquid around the power connection, buttons or ventilation openings. |
| Enclosed cold-air / two-fluid system | Bottle, feed path, hose, nozzle or internal atomizer | System-specific Some enclosed systems still require a proprietary diffuser cleaner rather than the same glass-nebulizer process. |
Do not assume that every enclosed scent system should be cleaned with the same method shown in this video. |
| Ultrasonic diffuser | Water reservoir and ceramic atomizing plate | Different method That cleaning process is different because the product works with water. |
Use AromaLeap's separate ultrasonic diffuser cleaning guide. |

What You Are Actually Cleaning
The video confirms the most important point: this type of diffuser does not need a large tank-cleaning procedure. Instead, the job is to remove remaining oil, flush or rinse the glass pathway with the approved liquid, and then dry the parts properly.
Seven-Step Framework
The steps below now correspond much more closely to AromaLeap's own cleaning video while still keeping the language safe for broader B2B use.
Stop the diffuser and disconnect power before removing the glass part or handling the base.
This is the first important step shown in the video. Do not leave the old oil sitting in the glass reservoir while trying to clean over it.
Lift off the glass reservoir or glass cover carefully so the narrow internal pathway is not knocked or forced.
For this AromaLeap model, the cleaning demonstration uses a neutral detergent or alcohol. Apply only to the removable glass component and keep the electrical base dry.
Swirl gently if needed, then pour out the cleaning liquid completely so residue and leftover fragrance are removed from the glass pathway.
Drying is not a decorative step. It helps prevent scent contamination and lets you recheck that no cleaner remains trapped in the pathway.
Place the glass part back onto the base correctly, then test the diffuser at a low setting to make sure mist output and scent performance have returned.
Cleaner Choice
Because you supplied the real cleaning video, the article can now say something more specific than before. For the demonstrated AromaLeap model, the approved practical message is: pour out the remaining oil, then clean the removable glass part with neutral detergent or alcohol.
A neutral detergent is a safer phrase than a harsh solvent. It suits the buyer-facing explanation and aligns with the video instruction for this model.
Alcohol can help remove leftover oil and scent carryover in this demonstrated model. It should still be kept away from the electrical base and only used on the allowed part.
We still avoid recommending vinegar, dish soap, strong solvents, wires or abrasive tools as universal solutions for every nebulizing diffuser on the market.
When to Clean
The safest answer remains condition-based rather than invented by calendar. Clean the diffuser when you see residue, notice scent carryover, or observe weak output.
Clean when moving from a strong or persistent scent to another fragrance where carryover would be a problem.
If the diffuser seems weaker than normal, residue in the pathway may be part of the cause.
Visible film or deposits around the glass section indicate that it is time for cleaning.
Empty and clean the diffuser before long storage so old oil does not stay in the pathway unnecessarily.
Troubleshooting
Cleaning often helps, but it is not a magic wand. Use the quick checks below before assuming the hardware itself has failed.
| Symptom | Possible Cause | Check | Next Step |
|---|---|---|---|
| No mist after cleaning | Parts still wet, incorrect reassembly, remaining blockage or power issue | Check drying, glass position and power connection | Reassemble carefully and test again. If performance remains abnormal, follow the product-specific troubleshooting path. |
| Weak mist | Residual oil film, unsuitable oil or incomplete drainage | Compare with a normal compatible oil and recheck the glass pathway | Repeat the approved cleaning process and inspect the removable part again. |
| Old fragrance remains | Scent residue remains after an incomplete clean | Inspect the reservoir and narrow pathway after drying | Repeat the neutral-detergent or alcohol cleaning process for this model, then dry fully. |
| Leakage after reassembly | Glass not seated correctly | Stop operation and inspect the fit | Reseat the glass component before restarting the diffuser. |
For the operating principle behind these symptoms, read how a nebulizing diffuser works. That article and this cleaning guide now support each other much better.
For Brands & Procurement Teams
This is now a stronger B2B article because it shows buyers that AromaLeap can explain maintenance with an actual product-cleaning process. For wholesale and private-label projects, cleanability should still be treated as part of the product evaluation.
Continue the Nebulizing Diffuser Cluster
Each page below serves a different search intent. The cleaning guide now handles maintenance in more detail, while other pages cover mechanism, comparison and commercial sourcing.
FAQ
For the AromaLeap model shown here, the core process is to pour out any remaining oil, clean the removable glass part with neutral detergent or alcohol, empty the liquid completely, let the part dry, then reassemble and test the diffuser.
Yes, for the demonstrated AromaLeap model, alcohol is included in the practical cleaning instruction. It should be used on the allowed removable part only, while the electrical base stays dry.
Yes. Your video instruction specifically allows cleaning with a neutral detergent or alcohol for this model. That wording is now reflected directly in the blog.
Because cleaning over old oil is inefficient. Residual oil can block proper cleaning, leave fragrance carryover and make the next test less reliable.
Drying helps prevent leftover cleaning liquid from affecting the next fragrance or the next output test.
Not automatically. This article is now aligned with one real AromaLeap nebulizing diffuser video. Other nebulizing or enclosed scent systems may still need their own model-specific method.
They should check cleaning access, the approved cleaner, removable parts, replacement-part availability, scent-change procedure and whether the cleaning steps can be explained clearly to end users.
From Maintenance Research to Product Sourcing
Now that this article includes a real AromaLeap cleaning process, it does a better job of qualifying buyers. If you are developing a private-label, retail or distributor project, send AromaLeap the intended model and target market so the product, maintenance method and packaging guidance can be reviewed together.