Have you noticed how soy candles are taking the spotlight lately? Thanks to their eco-friendly charm and the non-toxic properties perks they bring to our cozy corners, these candles offer a cleaner, greener alternative to traditional paraffin wax candles. At AromaLeap, our passion for natural, sustainable products drives us to craft these delightful light sources and share our knowledge and expertise. This blog aims to guide you through the satisfying trip of making soy candles, a process that mirrors our commitment to the environment and well-being. Join us as we delve into the art and science behind creating these little beacons of joy and sustainability.
So, why the buzz about soy wax? Well, it’s pretty simple. Choosing soy wax for your candles is more than a trend; it’s a conscious decision benefiting the environment and your health. Soy wax, derived from the soybean, stands out for its renewable nature, ensuring its use does not deplete natural resources. This characteristic, coupled with its superior performance in candle crafting, establishes soy wax as the best choice for candle making. Such qualities define it as the premier soy candle making Wax, distinguishing it as the best soy wax for candle making, perfectly aligned with AromaLeap’s commitment to eco-friendly and health-conscious products.
Furthermore, soy wax is non-toxic, creating a safer environment in your home or workspace. At AromaLeap, our commitment to soy wax is rooted in these environmental and health advantages. We are dedicated to crafting products that uplift the senses and protect the planet and its inhabitants, affirming our deep respect for nature and well-being.
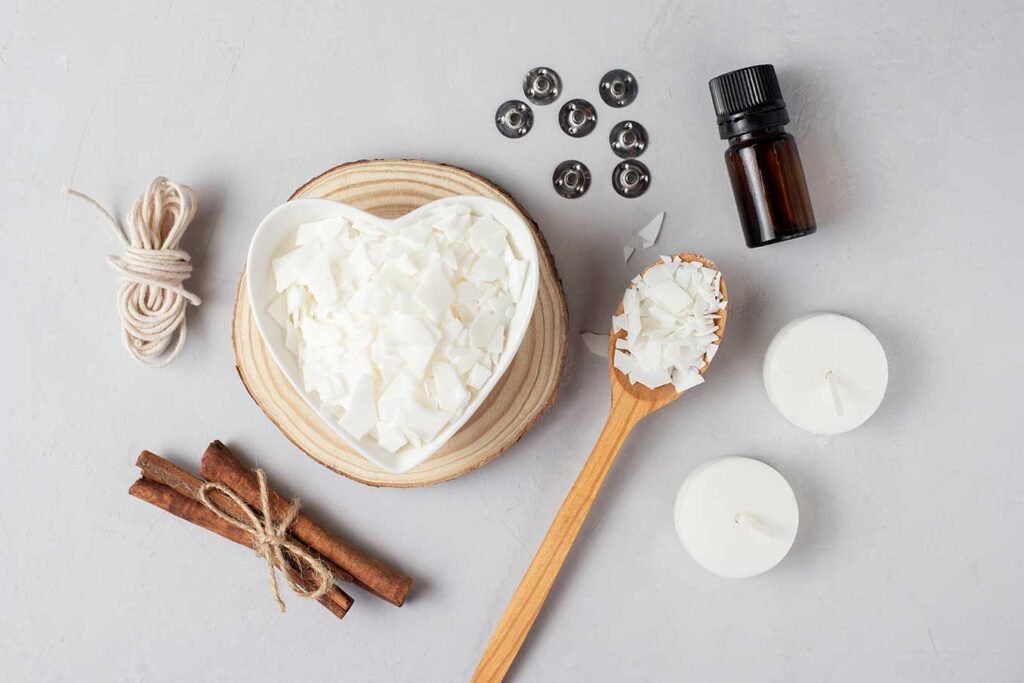
Ready to get your hands waxy? Here’s what you’ll need:
– Soy Wax: The foundation of your candle, chosen for its eco-friendly and clean-burning properties. Suitable for everything from DIY soy candle projects to bulk soy candle production for your business.
– Wicks: Preferably cotton or wood, crucial for a consistent burn.
– Containers: Glass jars, metal tins, or any heat-resistant container that suits your style.
– Fragrance Oils (Optional): Add a personal touch with your favorite scents. Ensure they’re compatible with soy wax for optimal scent throw.
– Tools: A double boiler or a melting pot, thermometer, stirrer, and a pouring jug.
– Measure the soy wax flakes needed for your container’s size. A general rule is to fill the container once twice the amount of Wax by volume.
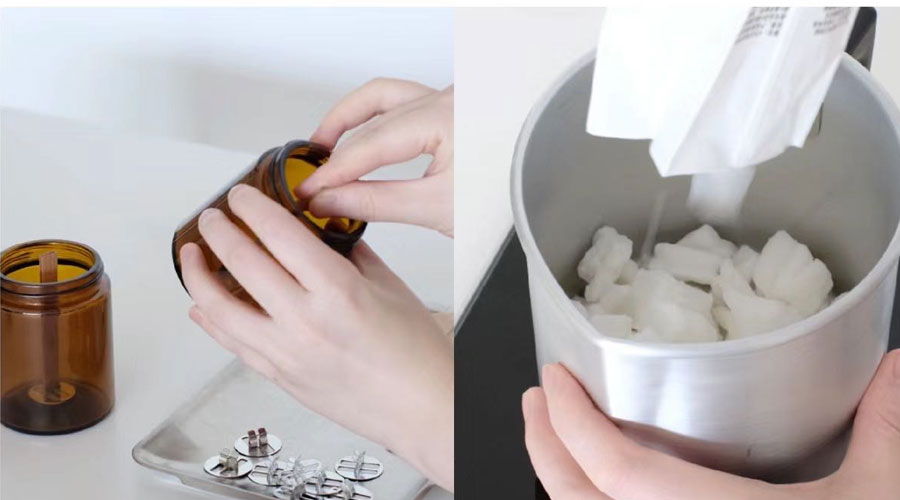
– Prepare your container by ensuring it’s clean and dry. Center and secure the wick at the bottom; use a wick sticker or a bit of melted Wax to hold it in place. Stabilize the wick with a holder or a makeshift guide like a pencil or chopstick across the container’s top.
– Use a double boiler to melt the soy wax flakes. If you don’t have one, place a smaller pot or a pouring pitcher inside a larger pot filled with water. Heat until the Wax reaches 185°F (85°C), stirring gently. Considering the soy candle melting point ensures a perfect blend, this is a crucial step. This temperature is ideal for fully melting the Wax while preparing it to bond with fragrance oil.
3. Adding Fragrance:
– Once melted, remove the Wax from the heat. Let it cool to approximately 135°F (57°C), ideal for soy candle wax melts and ensuring a rich scent. Throw in your how to make soy wax candle melts. Before adding fragrance oil. Stir thoroughly for a minute to ensure even distribution. This temperature helps the fragrance bond without evaporating.
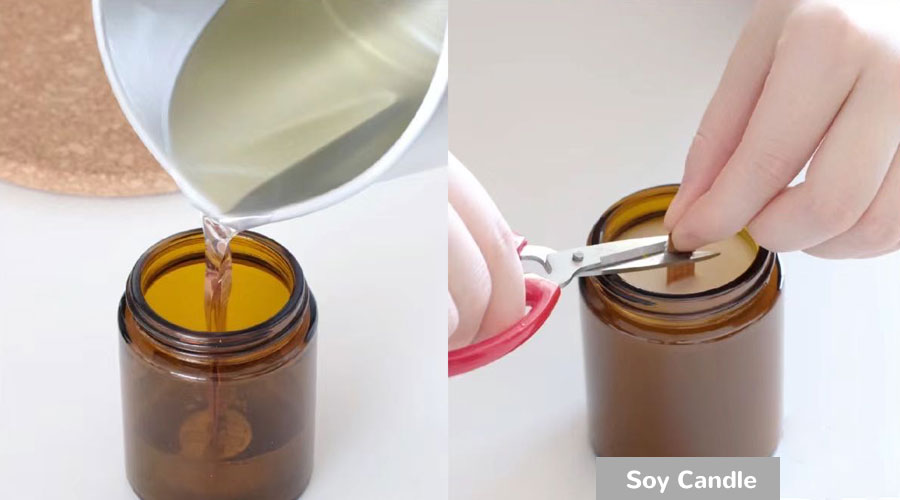
– Slowly pour the Wax into your prepared container, avoiding splashing to prevent air bubbles. Leave a small amount of Wax in your melting container for topping off later.
– Allow the candle to cool at room temperature in a draft-free area. Avoid moving it until it’s fully solidified. After it’s cooled, you can use the remaining Wax for a quick touch-up if there’s a sinkhole
– Cure the candle for at least 48 hours before the first burn. This waiting period enhances the scent throw and overall burn quality.
Embarking on making a soy wax candle or learning how to make a soy wax candle requires attention to detail to ensure a clean burn and optimal Fragrance. The perfect soy candle burn, here are expert tips that reflect AromaLeap’s meticulous craftsmanship.
– Wick Trimming: Before each burn, trim the wick to about 1/4 inch. This ensures a cleaner burn and prevents the flame from becoming too large.
– Avoiding Tunneling: To prevent Tunneling, where the candle burns down the middle, allow your candle to burn long enough so the Wax melts across the entire surface on the initial burn—usually about one hour for every inch in diameter of the container.
– Maximizing Scent Throw: For a strong scent throw, ensure your candle is in an optimal size; a small candle in a large room may result in a weaker scent. Also, the melting point of the soy wax used and the quality of the fragrance oils should be considered.
– Even Burning: Rotate your candle 90 degrees periodically to promote an even burn.
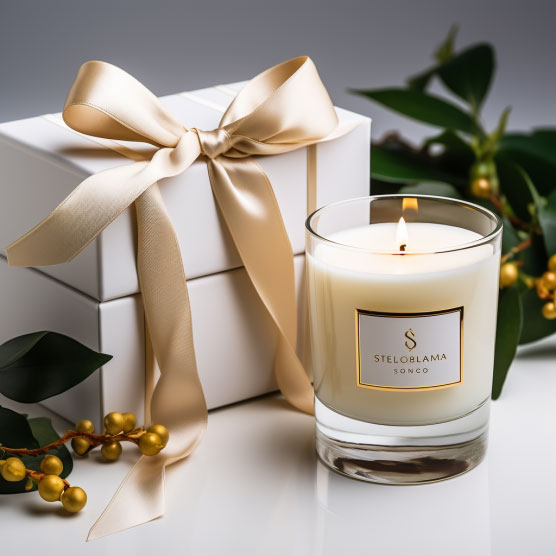
And there you have it – making soy candles is not just a craft; it’s a trip towards a more sustainable and fragrant lifestyle. Whether you want to add a personal touch to your home or step towards greener living, soy candle making is a delightful path to explore. Are you feeling inspired? Check out AromaLeap’s range of soy candles to see what’s possible or to find your next DIY project muse. Our collection, known for containing some of the best soy candles on the market, is crafted from homemade soy wax candle recipes, ensuring each candle burns cleanly and true to scent. Happy candle-making!
AromaLeap is based in China and was founded in 2010. It is engaged in the professional design and manufacturing of essential oils, fragrance oils, and diffusers. With ISO certifications and two subsidiaries, our focus is on eco-friendly, long-lasting products.